
All content Copyright 2022 Parallel Systems Ltd.
1. With the design file highlighted in the Project Manager window, select Tools>Create Netlist
The Create Netlist window appears.
2. Explore the multiple choices available by selection some of the tabs in this window.
3. Left-click the PCB tab, the following window opens.
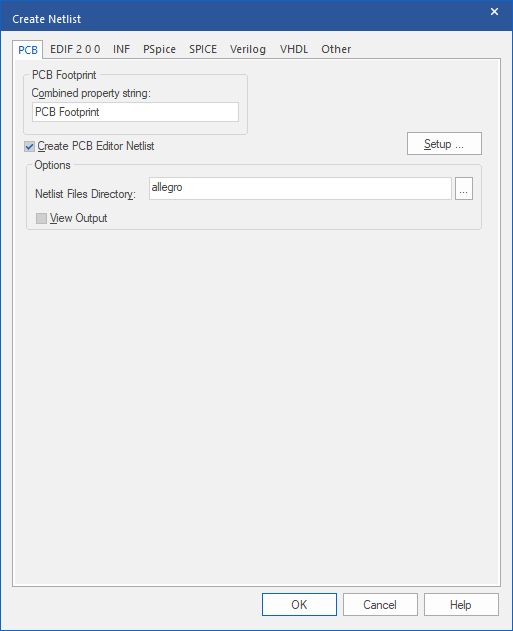
4. Left-click>OK.
5. If asked, left-click>OK when prompted about the design being saved prior to netlisting.
6. If prompted to create the “allegro” directory, left-click>Yes
Capture creates a netlist for OrCAD PCB Editor in the “allegro” sub-directory which consists of 3 files referred to as “.DAT” files:
pstxnet.dat
pstxchip.dat
patxprt.dat
7. In the Project Manager window, double-click on one of the “.dat” files
(under the Outputs folder).
8. When you are finished, close the netlist window.
9. Left-click in the schematic window to make it active, and select File>Close.
10. If you are prompted to Save, do so.
11. Select File>Close
The main session window is still running.
12. Use Windows Explorer to navigate to the C:\OrCAD_Training\Capture\Lesson8 directory.
13. Notice the files stored in your project folder, and their various extensions.

End of Lab
All content Copyright 2022 Parallel Systems Ltd.