
All content Copyright 2022 Parallel Systems Ltd.
1. If necessary, start PCB Editor.
2. Choose File>Open and open the constraints.brd design (if it is not the current design).
3. Use the Display>Zoom>Fit command.
(Or strokes W and Z, hold the control key and draw with the right-mouse button held)
4. Toggle the grid points to ON, if they are not currently displayed, by clicking the Grid icon  from the toolbar.
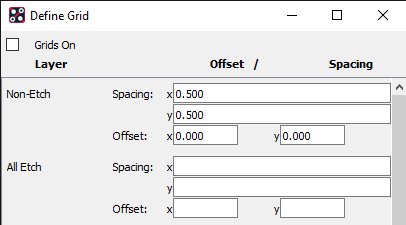
5. Choose Setup>Grids, the Define Grid form opens.
6. Locate the Non-Etch section at the top of the form and set the X and Y Spacing to 0.5 mm, as shown in the figure:
7. Left-click>OK at the bottom of the form.
8. Left-click the Colour icon. 
The Colour Dialog form appears.
9. Choose the GEOMETRY folder.
10. Locate the TOP_ROOM and the BOTH_ROOMS subclasses and check the boxes to enable visibility, the colours for these subclasses can be changed at this time.
11. Left-click>OK to close the Colour Dialog form.
12. Select Outline>Room from the top menu.
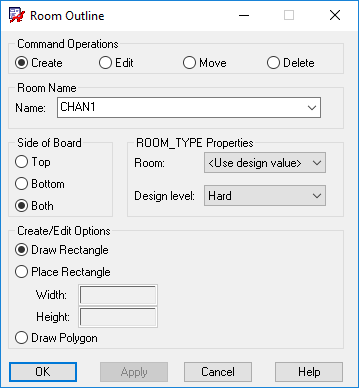
The Room Outline form displays. Set the form to appear as shown:
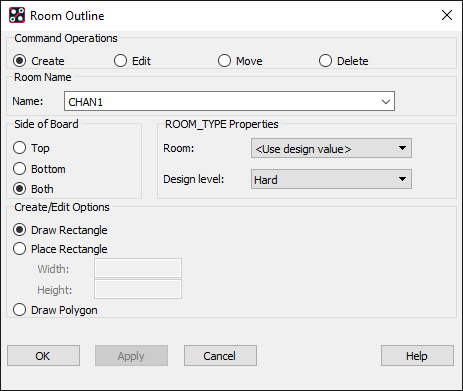
13. Left-click in the command window to activate it, then , at the PCB Editor command line, type:
x 32.5 37.5 <press Enter>
x 93.5 17.5 <press Enter>
14. If it is not already set, change the Room Name to CHAN2, left-click in the command window again to activate it, and enter:
x 32.5 17.5 <press Enter>
x 93.5 -2.5 <press Enter>
15. Use the pull-down menu and change the Room Name to MEM, left-click in the command window again to activate it, and enter:
x 47.5 107 <press Enter>
x 93.5 55 <press Enter>
16. Change the Side of Board option to Top.
17. Change the Room Name to LED, left-click in the command window again to activate it, and enter:
x 35 55 <press Enter>
x 93.5 37.5 <press Enter>
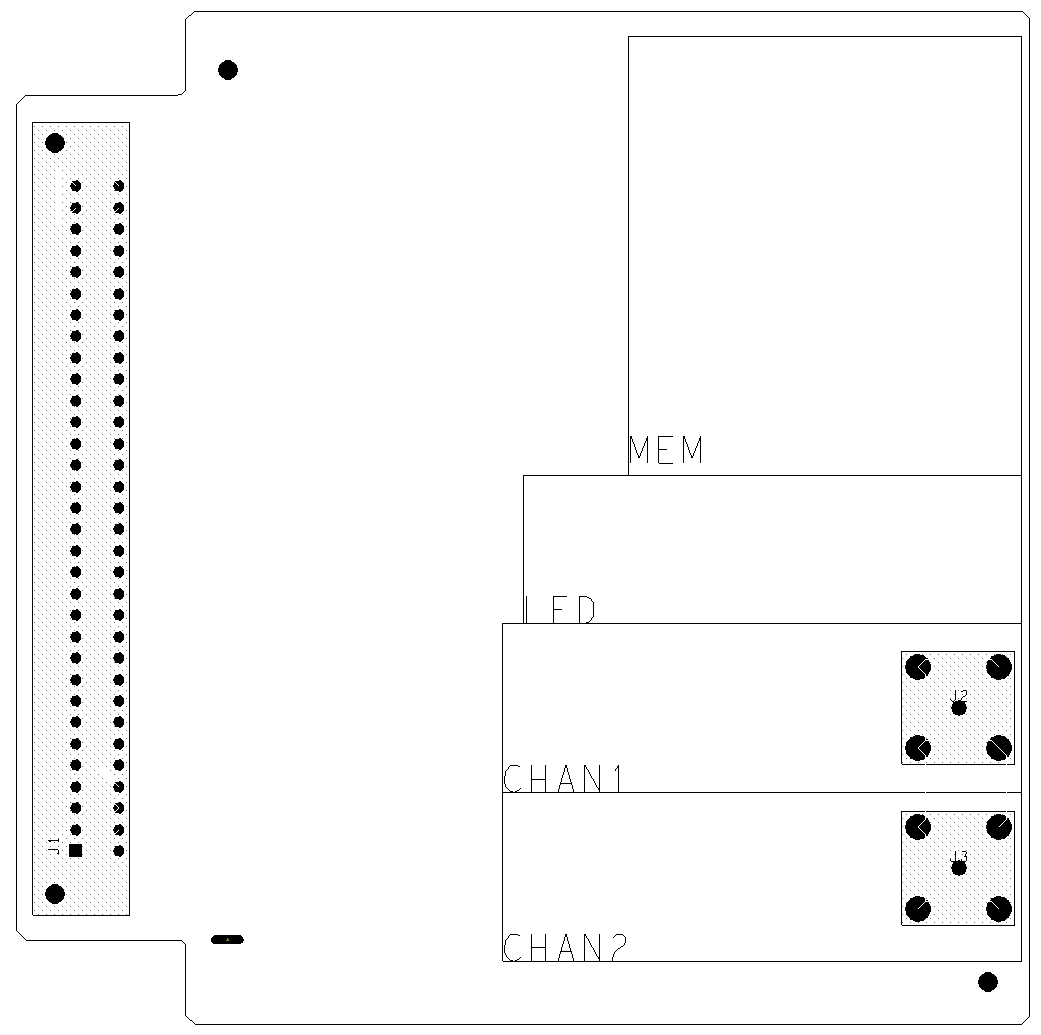
Four rectangles appear on the board with the labels attached to them.
18. Left-click>OK to close the form.
19. Select File>Save from the top menu.
A window appears and warns you that the constraints.brd file already exists and asks if you want to overwrite the file.
20. Left-click>Yes to confirm the overwrite.
The file constraints.brd is written to disk.
End of Lab
All content Copyright 2022 Parallel Systems Ltd.