
All content Copyright 2022 Parallel Systems Ltd.
Before setting up the Class to Class rules, a class for some more nets will be created.
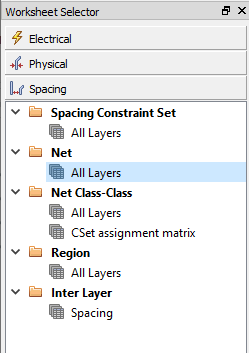
1. Select All Layers in the Net folder for Spacing as shown below:
2. Left-click in the constraints cell under the Objects column.
3. Then right-click in the constraints cell and, from the pop-up menu, select Create>Class.
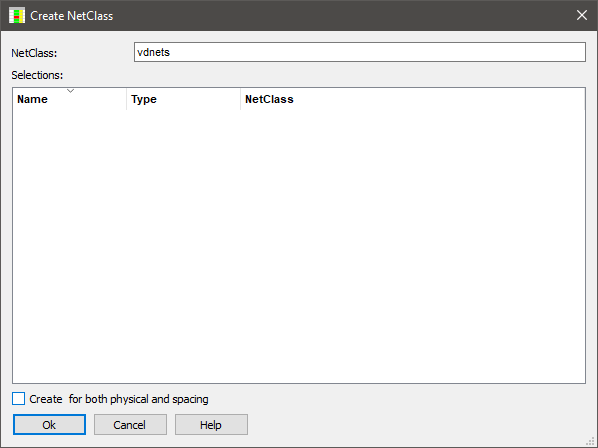
4. In the Create Net Class form, enter VDNETS for the name, un-check the option to create the Net Class for both physical and spacing, and left-click>OK
5. Left-click the VDNETS cell in the Net Classes list (NCls)
6. Select Objects>Group members from the Constraint Manager main menu.
(Or right-click>Net Class Members on the Class Name cell)
7. Left-click the “triangle” to the left of Nets to open the list of Nets
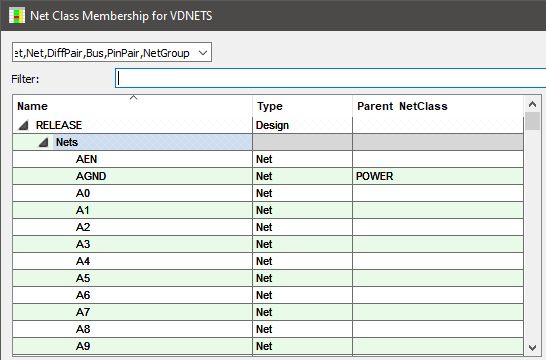
8. Type VD in the Filter box to just filter the nets beginning with VD
9. Left-click the net VD0, and shift+left-click the net VD7 so that all eight nets are selected.
10. Left-click the > button to select the nets for the VDNETS Net Class.
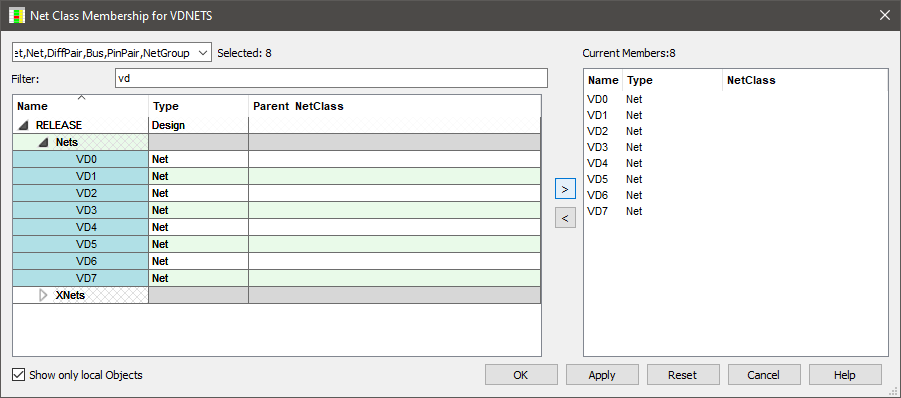
11. Left-click>OK to assign the nets and close the form.
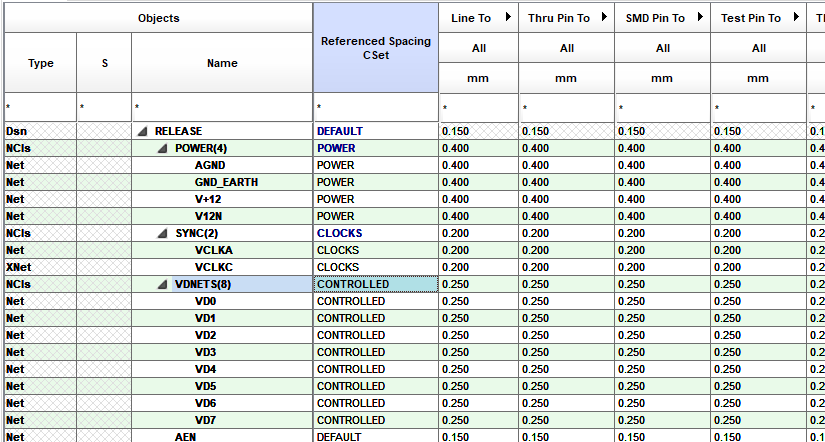
12. Locate the VDNETS class at the top of the Spacing Net list and assign Controlled as the Referenced Spacing CSet.
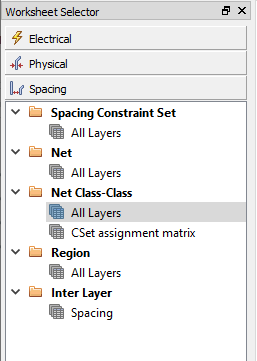
13. Select the All Layers Worksheet in the Net Class-Class folder as shown below
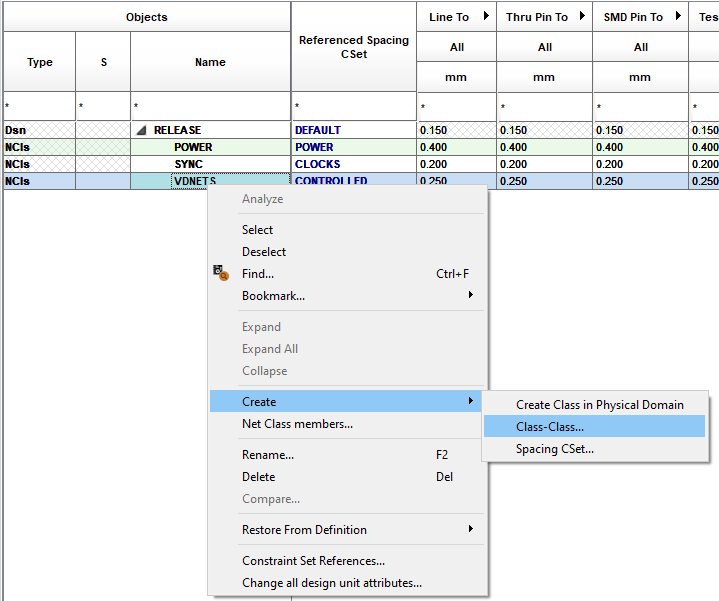
14. Select the VDNETS cell and right-click>Create>Class-Class
15. Left-click VDNETS on the left side pane and left-click SYNC on the right side pane as shown below:
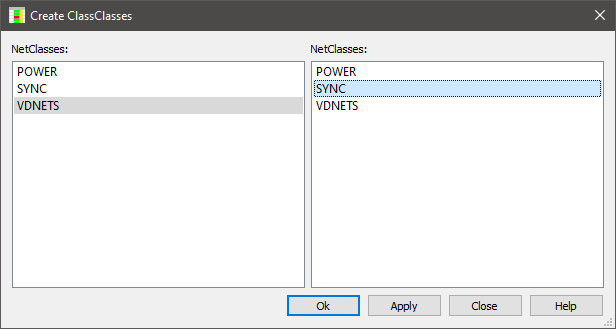
16. Left-click>OK
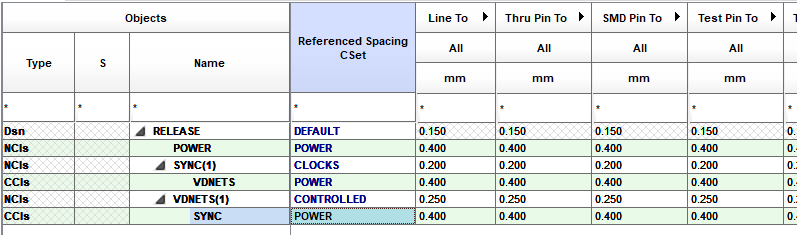
17. Left-click in the Referenced Spacing CSet cell for the Sync Net Class-Class cell. Select the Power CSet from the drop-down to get the result shown below:
18. Select File>Close from the Constraint Manager window.
19. Save and continue by selecting File>Save from the PCB Editor top menu.
20. Left-click>Yes to confirm the overwrite.
The constraints.brd file is once more saved to disk.
(Skip labs 7-1a to 7-3a if not using the Capture Constraint Manager)

End of Lab
All content Copyright 2022 Parallel Systems Ltd.